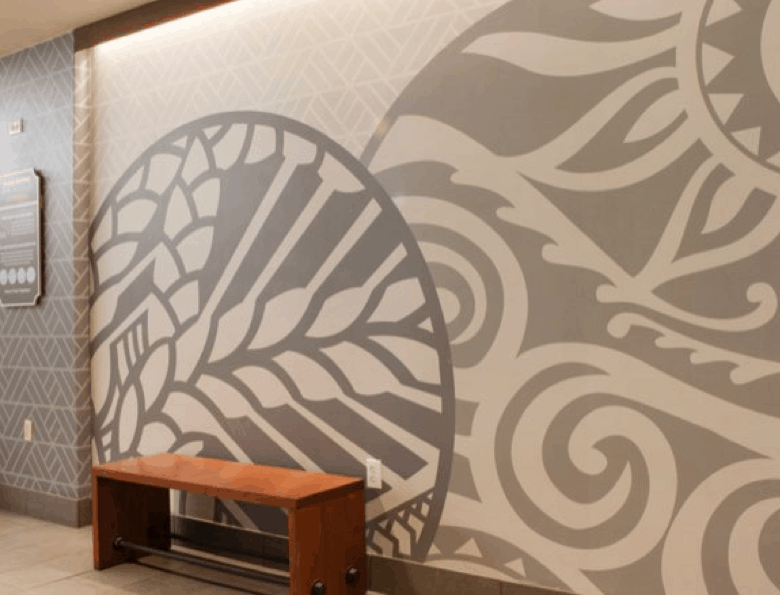
Wallcovering Wrap Guidelines
Prepping Walls for Vinyl Graphic Installation.

HONBLUE Customer Resource Guides are valuable tools designed to streamline your printing projects. They offer step-by-step instructions, helpful tips, and best practices for optimizing print quality, installation efficiency, ensuring accuracy, and saving time.
Elevate your brand with our premium printing services
Contact us for a personalized solution.
To ensure optimal adhesion of vinyl wall graphics, follow these steps for wall preparation:
Step 1: Conduct an Adhesion Test
- Arrange for HONBLUE to perform a 3M wall film adhesion test using the desired films.
- Smooth walls require a test duration of under 30 minutes.
- Textured walls need the film to remain in place for one week to assess adhesion strength accurately.
Step 2: Wall Construction, Inspection/Repair, & Condition
- Repair any wall damage and restore walls to a “like new” Level 4 state.
- For new wallboard, sand and let the mud completely dry before priming and painting.
- Smooth down textured walls with sandpaper or a scouring pad, then prime, paint, and allow curing.
- Address any loose paint, inconsistent surfaces, cracks, holes, or dents by repairing or patching them.
- Remove existing peeling or chipped paint by scraping and sanding before applying primer or paint.
- Ensure all dust, dirt, and contaminants are cleaned from the walls before applying primer or paint.
- Remove all existing wallpaper and achieve a smooth surface.
Step 3: Paint and Primer
- Choose high-quality paint and primer for vinyl wall mural installation.
- Complete the paint job at least 5 days before applying the wall graphics to allow for full curing.
- Use a compatible primer, preferably a semi-gloss latex-based one.
- Avoid latex paints with silicone, Teflon, anti-graffiti, stain, or mildew resistant additives.
- Avoid matte, flat, or eggshell finishes, as they may hinder vinyl adhesion.
- Steer clear of oil alkyd primers and enamels, as they dry slowly and affect film adhesion.
- Do not use LOW-VOC or NO-VOC paints.
- Heavily textured paint should be avoided, as it reduces film adhesion.
- Latex paint is not suitable for wooden substrates.
- If needed, HONBLUE can provide paint selection recommendations based on site visit assessment.
Step 4: Climate and Surface Prep Prior to Install
- Ideally, complete all interior construction before installing the vinyl.
- Maintain a dust-free and clean environment during vinyl installation.
- Wipe painted drywall surfaces with a lint-free towel; use a trisodium phosphate (TSP) solution for greasy surfaces if needed.
- Clean non-painted surfaces with warm water and a detergent solution without lotions, waxes, creams, or oils.
- Prepare smooth poured concrete or concrete block walls by removing grease or exhaust contaminants using power washing or hand washing with a stiff brush and detergent. Rinse with water and dry with a towel. Allow 24 hours for drying.
- Be cautious of hidden condensation behind drywall near cooling systems, water pipes, overhead windows, or boarded-up windows.
- Control temperature and humidity (66-72 degrees Fahrenheit) for a few days before installing vinyl murals.
Step 5: Site Preparation Prior to Install
- Ensure a minimum 4' clearance of obstructions around the installation surface.
- Remove mounted items such as televisions, fixtures, furniture, and photos.
- Fixed obstructions like wall outlets, switches, fire alarms, and thermostats can remain.
- Clean the installation site floor of dust and debris to prevent them from interfering with vinyl adhesion due to static electricity generated during installation.
Disclaimer:
- Failure to properly prep your walls prior to installation may result in adhesion and/or durability issues with your wall covering.
- If holes, dings, or dents are not addressed before vinyl installation, imperfections may become visible in the final wall covering.
- Failure to follow the prep guidelines, including improper cleaning, preparation, and painting of the walls, will render the 3M MCS warranty null and void.
For any inquiries or assistance, please reach out to your HONBLUE representative.
contact us
Can't find the answer you're looking for? Please chat with our friendly team.


